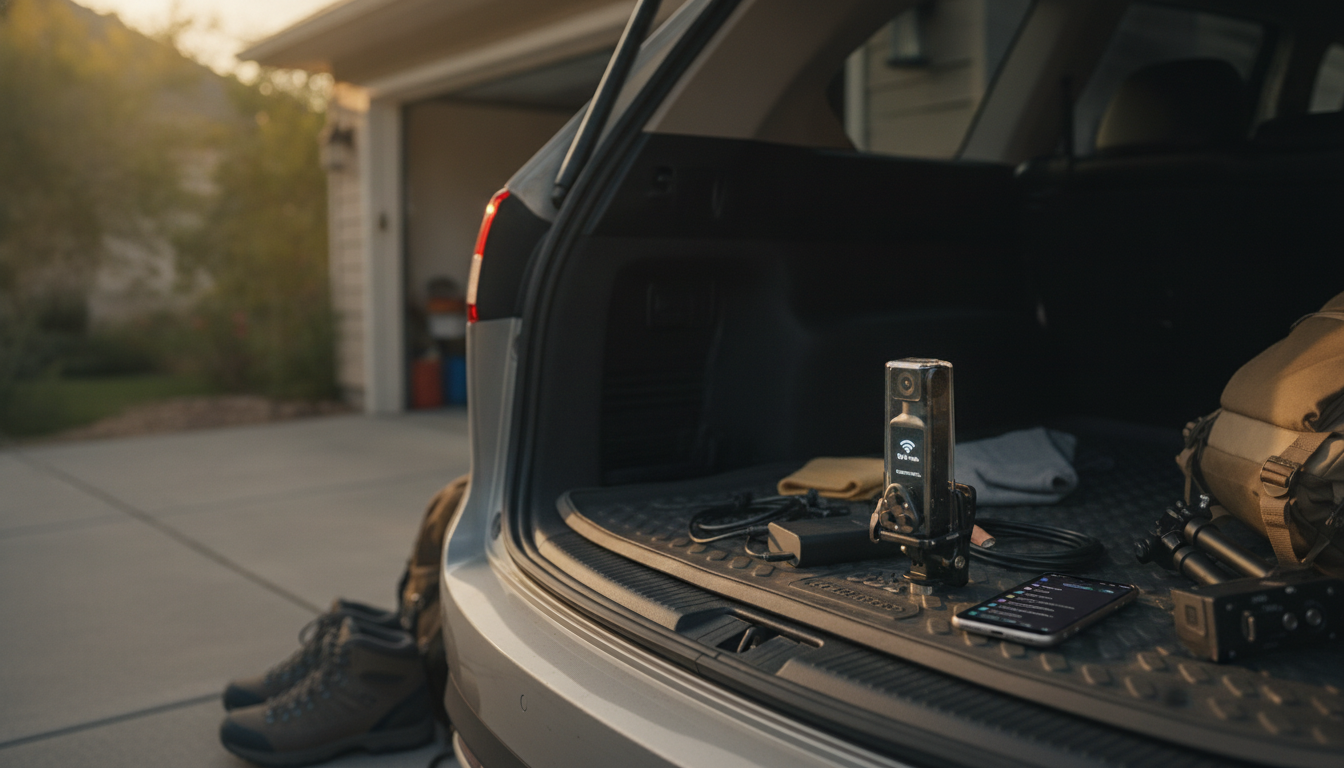
Most action cameras connect to Wi‑Fi through a companion mobile app, letting your phone join the camera’s temporary wireless network so you can preview footage, change settings, and transfer clips. The exact wording in menus varies by brand, but the connection flow is usually the same: enable the camera’s Wi‑Fi, join its network on your phone, then finish pairing inside the app.
1) Charge the camera and turn it on. Low battery can cause Wi‑Fi to drop mid-pairing, so start with a solid charge.
2) Install the camera’s official app. Use the manufacturer’s companion app (often listed on the camera’s box or manual). Open it and allow permissions such as Bluetooth, Wi‑Fi, and Location if requested.
3) Enable Wi‑Fi on the action camera. In the camera’s settings, look for “Wi‑Fi,” “Connections,” or “Wireless.” Turn it on and note the network name (SSID) and password shown on the screen.
4) Join the camera’s Wi‑Fi network on your phone. On your phone, go to Wi‑Fi settings and select the camera’s SSID. Enter the password exactly (it’s often case-sensitive). If your phone warns “No Internet Connection,” that’s normal—your phone is connected directly to the camera.
5) Return to the app to complete pairing. The app should detect the camera and finalize the connection. Some models also use Bluetooth for the initial handshake, then switch to Wi‑Fi for live view and transfers.
Toggle Wi‑Fi off/on on both devices, forget the camera network and rejoin, and confirm you’re not still connected to a home network. If your phone tries to “auto-switch” to cellular data, disable that feature temporarily. Restart the camera, and check whether the camera/app firmware needs an update.
For a more detailed walkthrough and brand-specific tips, see the full guide here: https://lucid.sale/how-do-i-connect-my-action-camera-to-wi-fi/.
That’s expected because the camera creates a direct Wi‑Fi link for control and file transfer, not internet access. Stay connected to the camera network while using the companion app.











Leave a comment